You’ve been mining Bitcoin or maybe Ethereum Classic for a while now. Your rig is humming, the fans are spinning, and you’re earning rewards. But then it happens. The payout feels sluggish, fees seem too high, or worse, the pool goes offline during a critical window. You start wondering if your current setup is actually working for you or just eating into your profits. This is where switching mining pools becomes more than just a technical tweak-it’s a strategic move to protect your earnings.
Migrating from one pool to another isn’t rocket science, but doing it wrong can cost you real money in lost shares or downtime. Whether you are running a single ASIC miner at home or managing a small farm, understanding how to shift your hashpower efficiently is crucial. Let’s break down exactly how to do this without losing your mind-or your coins.
Why Bother Switching? The Profitability Equation
Before you touch any settings, ask yourself why you want to switch. Is it because a competitor offers lower fees? Maybe their server latency is better for your location in Perth (or wherever you are). Or perhaps your current pool has a reputation for holding payouts longer than promised.
Mining pools are collaborative networks where miners combine computational power to find blocks faster. By joining a pool, you trade individual variance for consistent, smaller payouts. However, not all pools are created equal. Some charge up to 3% in fees, while others might offer 0% but use complex payout schemes that hide costs elsewhere.
Consider these common triggers for switching:
- High Fees: If you’re paying 2.5% and find a reputable pool charging 1%, that difference adds up over months.
- Payout Delays: Waiting weeks for a minimum threshold when you could get paid daily?
- Server Instability: Frequent disconnects mean stale shares, which equals lost income.
- Algorithm Changes: Sometimes a coin’s algorithm changes, and certain pools handle the transition better than others.
Don’t switch just because a friend said so. Look at the data. Check the pool’s historical block discovery rate. A larger pool finds blocks more often, providing smoother payouts, but pays less per block found compared to a smaller pool that hits big wins occasionally. It’s a risk-reward balance you need to align with your financial goals.
Pre-Switch Checklist: Don’t Leave Money on the Table
The biggest mistake beginners make is pulling the plug on their old pool before securing their earnings. Most pools have a minimum payout threshold. If you leave with $4.50 in pending rewards and the minimum payout is $5, you might lose that balance depending on the pool’s policy upon disconnection.
Here is what you need to do first:
- Check Pending Balances: Log into your current pool dashboard. See exactly how much unclaimed reward you have.
- Understand the Policy: Does the pool forfeit balances under the threshold if you stop mining? Some do, some don’t. Read the FAQ.
- Prepare New Credentials: Sign up for the new pool. Create a worker name (e.g.,
rig1_home) and note down the wallet address they require. - Note Server Details: Write down the primary URL, port number, and any specific parameters required by the new pool.
If your pending balance is significant, consider lowering the payout threshold temporarily if the pool allows it, or simply accept the small loss as a cost of business. It’s rarely worth keeping a rig connected to a suboptimal pool for days just to chase a few cents.
The Technical How-To: Configuring Your Miner
Now for the hands-on part. The process varies slightly depending on whether you use an ASIC miner or a GPU rig, but the logic is identical: point the software to a new server.
For ASIC Miners (Antminer, Whatsminer, etc.)
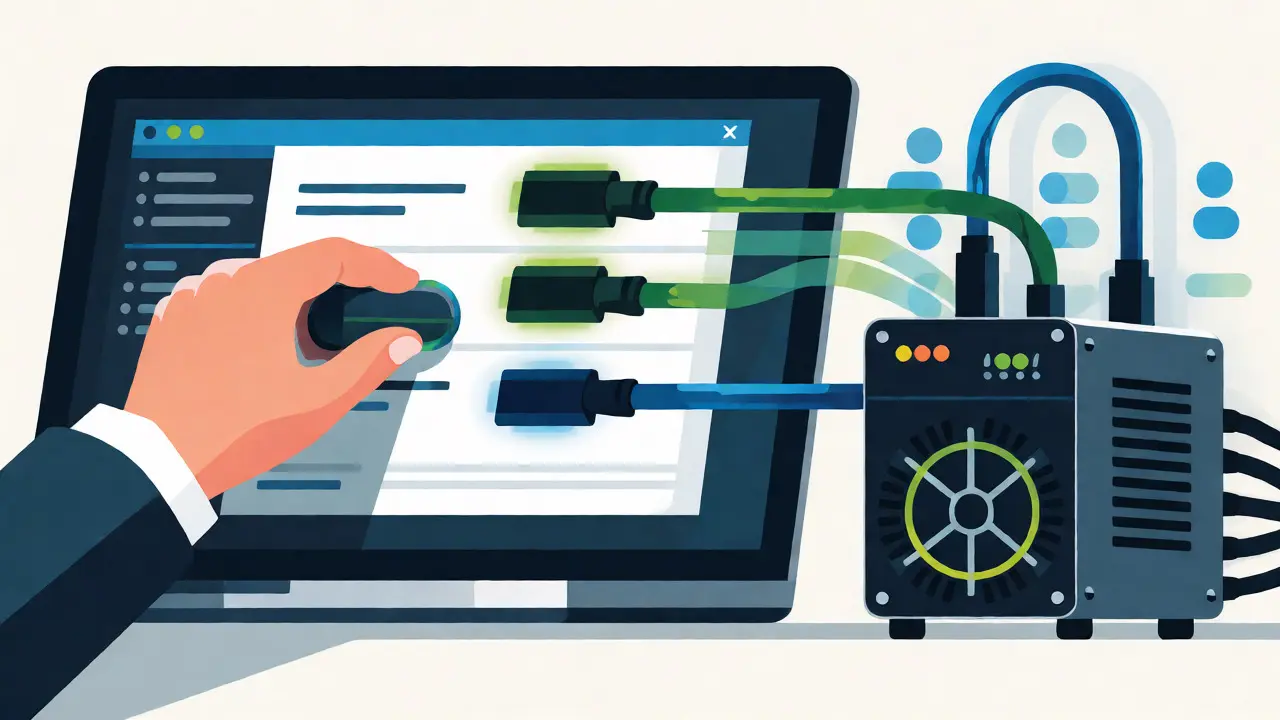
Most modern ASICs come with a built-in web interface. Here is the standard workflow:
- Find Your IP: Use your router’s admin panel or a network scanner tool to find your miner’s local IP address.
- Access the Web UI: Type that IP into your browser. Default login is often
root/rootoradmin/admin. - Navigate to Miner Configuration: Look for tabs labeled "Miner Configuration," "Pool Settings," or similar.
- Update Pool Information: Enter the new pool’s URL (e.g.,
stratum+tcp://pool.example.com) and port (usually 3333 or 4444). - Set Worker Name: Input the worker name you created on the new pool’s website.
- Password: Most pools accept any password, often just
xorworker_name. Check their docs. - Save and Reboot: Apply changes. The miner will restart and begin connecting to the new server.
Pro tip: Many ASICs support multiple pool entries. Set your new pool as Primary and keep the old one as Secondary. This acts as a failover. If the new pool has issues, your miner automatically reverts to the old one, ensuring zero downtime.
For GPU Rigs (NiceHash, T-Rex, lolMiner)
GPU mining usually involves editing a configuration file or changing flags in a batch script.
- Batch Files (.bat): Open your .bat file in Notepad. Locate the line starting with the miner executable (e.g.,
lolMiner.exe). Change the--poolargument to the new stratum URL and update the--walletand--workerarguments. - Config Files (.json/.yaml): If using software like Claymore or PhoenixMiner with config files, edit the JSON/YAML structure to reflect the new server details.
- NiceHash Specifics: If you mine via NiceHash, you aren’t technically switching pools in the traditional sense; you’re switching algorithms or workers within the NiceHash platform. Update your worker name in the NiceHash QuickMiner or legacy agent settings.
Monitoring the Migration: Did It Work?
Once you hit save, don’t walk away. Watch the console output or the web interface logs closely. You are looking for specific keywords indicating a successful connection.
Look for messages like:
Connected to stratum serverAuthorized workerNew job received
If you see errors like Connection refused, check your firewall settings or ensure the port is correct. If you see Unauthorized, double-check your worker name spelling. Typos are the silent killers of mining productivity.
After about 10-15 minutes, log into the new pool’s dashboard. You should see your worker appear in the active list. Check the reported hash rate. It should match your hardware’s expected output. If it’s significantly lower, you might be experiencing high latency or packet loss between your location and the pool’s server.
Advanced Strategies: Failover and Profit Switching
Manual switching is fine for occasional moves, but serious miners automate it. Two concepts dominate here: Failover and External Profit Switching.
| Strategy | Complexity | Downtime Risk | Best For |
|---|---|---|---|
| Manual Switch | Low | Medium | Beginners, infrequent changes |
| Failover Config | Medium | Very Low | Reliability-focused miners |
| Profit Switching | High | Low (if automated) | Maximizing revenue, volatile markets |
Failover configurations allow your miner to cycle through a list of pools. If Pool A fails, it tries Pool B, then C. This ensures your rig never stops hashing due to a temporary server outage.
External Profit Switching, offered by tools like Awesome Miner or specialized scripts, monitors real-time profitability across multiple pools. It calculates which pool yields the highest return per watt-hour right now and switches your miners accordingly. This is powerful but requires robust software management to avoid constant flipping, which can cause minor instability.
Troubleshooting Common Post-Switch Issues
Even with careful planning, things go wrong. Here are quick fixes for frequent problems:
- Stale Shares: If your pool reports high stale share rates, your internet latency is likely too high. Try a pool with servers closer to your geographic location. In Australia, look for pools with Singapore or US West Coast nodes rather than Europe.
- Zero Balance: Give it time. Some pools, especially those using PPLNS (Pay Per Last N Shares), calculate rewards based on a sliding window of recent shares. It might take several hours or even a day for your average to stabilize and show meaningful earnings.
- Worker Not Found: Ensure you registered the worker on the pool’s website *before* pointing your miner to it. Some pools auto-create workers, but many require pre-registration.
Keep a log of your switch date and performance metrics for the first week. Compare this against your previous pool’s data. Did efficiency improve? Are fees lower? Use this data to decide if the switch was a success or if you should revert.
Will I lose my accumulated rewards when I switch pools?
It depends on the pool's policy. Generally, rewards below the minimum payout threshold may be forfeited if you disconnect permanently. Always check your pending balance and the pool's terms regarding unclaimed funds before migrating.
How long does it take to see earnings after switching?
This varies by payout method. PPS (Pay Per Share) pools pay out almost immediately after a block is found. PPLNS (Pay Per Last N Shares) pools use a moving average, so it might take 12-24 hours for your initial earnings to reflect accurately as the system gathers enough data points.
Can I run two different pools at once?
Yes, many modern miners support multi-pool configurations. You can split your hashpower (e.g., 80% to Pool A, 20% to Pool B) or set up a failover chain where Pool B only activates if Pool A goes down. This is excellent for testing new pools without risking your entire operation.
Does server location really matter for mining?
Yes. Lower latency means fewer stale shares. Stale shares are valid work done by your miner that arrived too late to be counted by the pool, effectively wasting electricity. Choosing a pool with servers geographically close to you minimizes this loss.
What is the difference between PPS and PPLNS?
PPS (Pay Per Share) guarantees payment for every share submitted, regardless of whether the pool finds a block. It lowers variance but often comes with higher fees. PPLNS (Pay Per Last N Shares) pays out based on the pool's actual block discoveries over a recent period. It has higher variance but typically lower fees and higher potential returns during lucky streaks.